The basics behind the Nexus repository.
Using Nexus repository manager we can back various kind of repositories. Specially, creating APT, YUM repositories are a key role in this repository management world. Go lang repositories, maven, docker, npm, python (pypi) based repositories are also key players in this.
There are clear, strategic reasons why organizations and projects rely on repository servers.
Maintaining a repository server as a cache can be beneficial, especially if your data center has multiple servers running apt update, yum update, or if your Dockerfiles are pulling many Python PyPI packages during CI/CD pipelines. Having a repository server can reduce the time it takes for your automations to execute. On the other hand, this is a small but effective mechanism to optimize your CI/CD pipeline executions. 😉
Another advantage is that you may have air-gapped servers within your infrastructure. For example, a server might be running a critical component—such as a VoIP system, a PHP application, or a mail server—but is not allowed to connect to the internet. In other words, the server is isolated at the network level. However, there’s a catch: you still need to keep it updated. In this case, having a private repository that proxies official repositories becomes essential.
TIP: The final part. There may be situations where you cannot install custom rpm/deb packages into your distribution. No matter how you tried, no result. There may be situations you need to keep your own custom rpm/deb packages to be used when kickstarting a distribution. These types of repositories come in handy when there is unavoidable package handling situations. 🙂
Let’s start
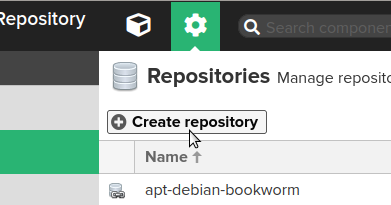
Go to repositories on the left side pane and click Create Repository
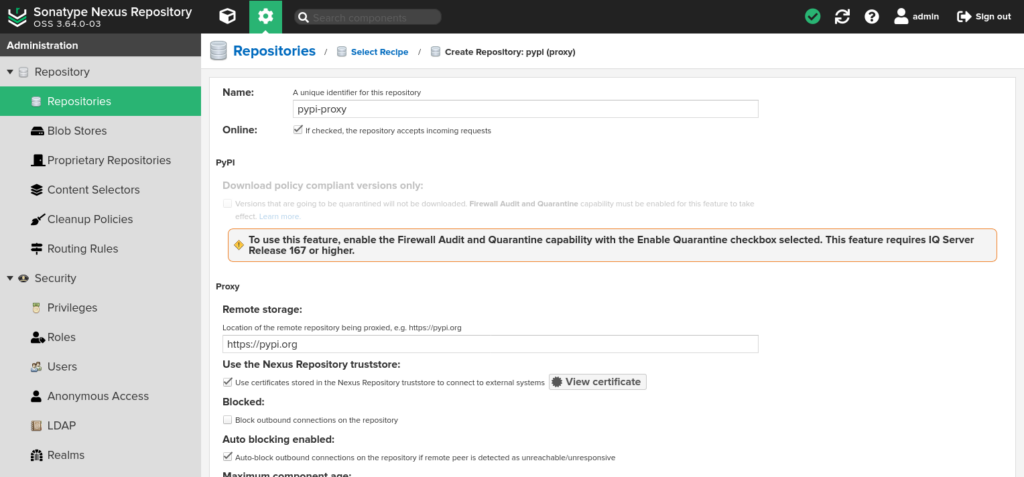
In the list. Select pypi(proxy) and Pypi proxy repository creation will appear. Add following values.
Name: pypi-proxy
Remote Storage: https://pypi.org
Check “Use the Nexus Repository truststore”
Click “Create repository” and leave the other fields as it is.
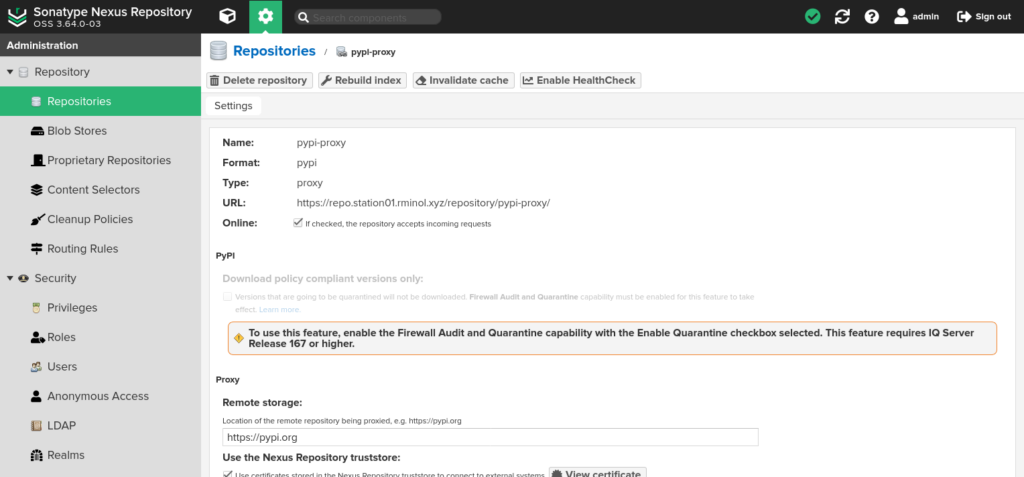
Newly created repository will appear in the Repositories list and we need to click on it. The URL section will show the link to our pypi proxy repository.
We have two other repositories to create, but as a first step we need to check whether the proxy repository fetch packages from the remote and make them available to end-user.
Create anonymous Nexus role
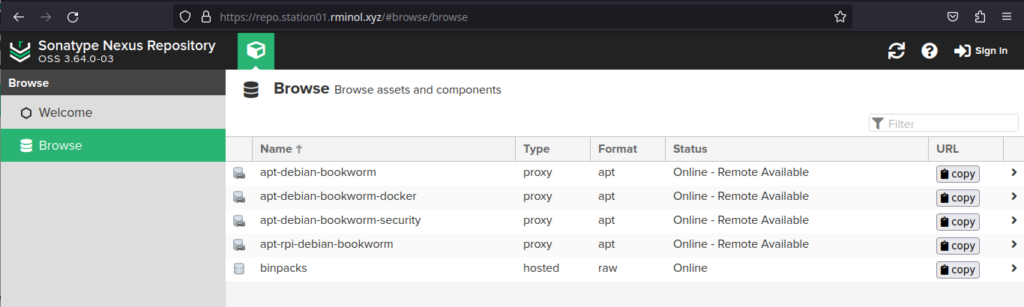
Usually the repositories created by web UI does not appear in anonymous view. Since we wish to use this repository without a user name, the repository should be accessible to anyone. To check this, open your nexus repository in an incognito web browser window. Without user logins, you will see anonymously accessible repositories. But our pypi repository will not appear here.
The reason for this is that we have not configured the permissions correctly. Since anonymous view is disabled for all the repositories globally, we have to configure permissions for pypi-proxy repository.
First we create an Anonymous Nexus role and apply it to the anonymous user (By default anonymous user exist in the system). By clicking on the Roles we see the system generated roles.
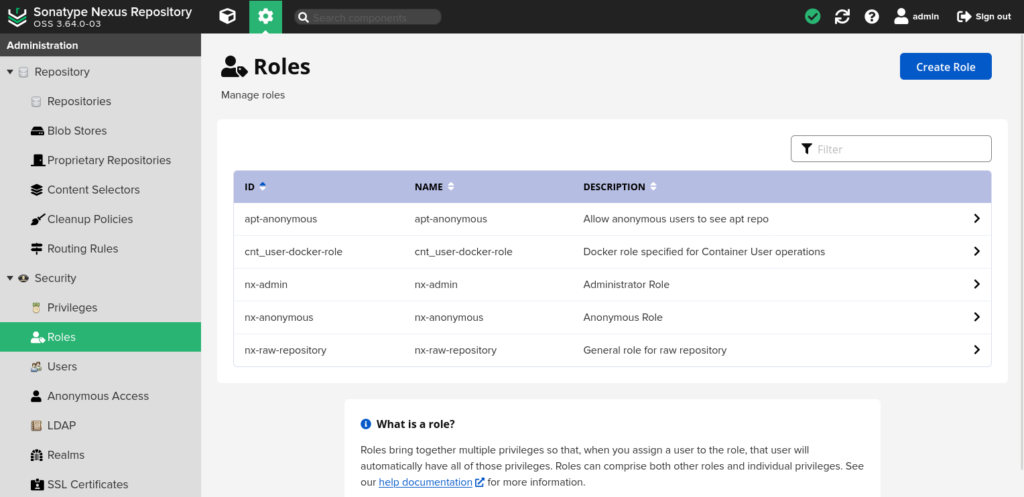
Click Create Role and select the type Nexus role.
Give it a Role ID, Roole Name and Description. In the Privileges section add nx-repository-view-pypi-*-browse and nx-repository-view-pypi-*-read. Click Save
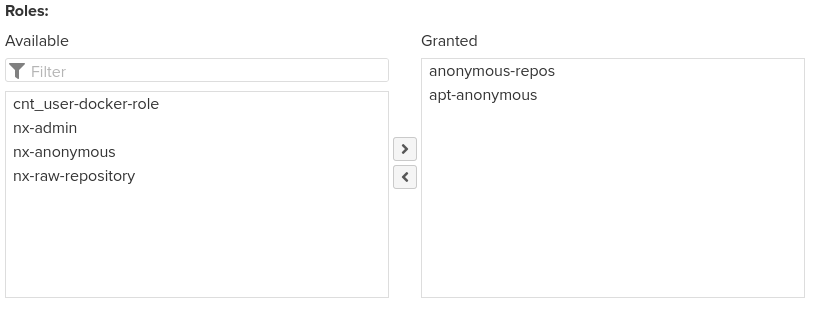
In Users menu click on the anonymous user and add anonymous-repos role from the Roles. Save it.
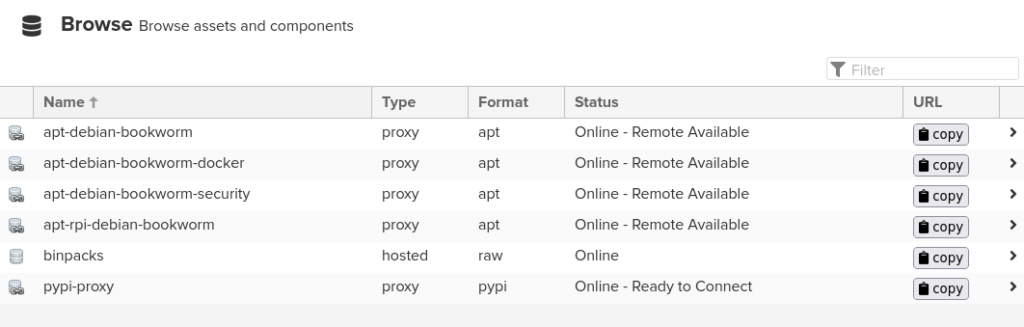
After refreshing on incognito browser window we can see the pypi-proxy repository.
Now it’s time to test the repository. First we have to get a shell window open and create python virtual environment.
python3 -m venv venv

# To activate it
source ./venv/bin/activate
We should point our custom proxy repository and do some sample installation.
pip install --index-url https://<your repo url>/repository/pypi-proxy/simple flask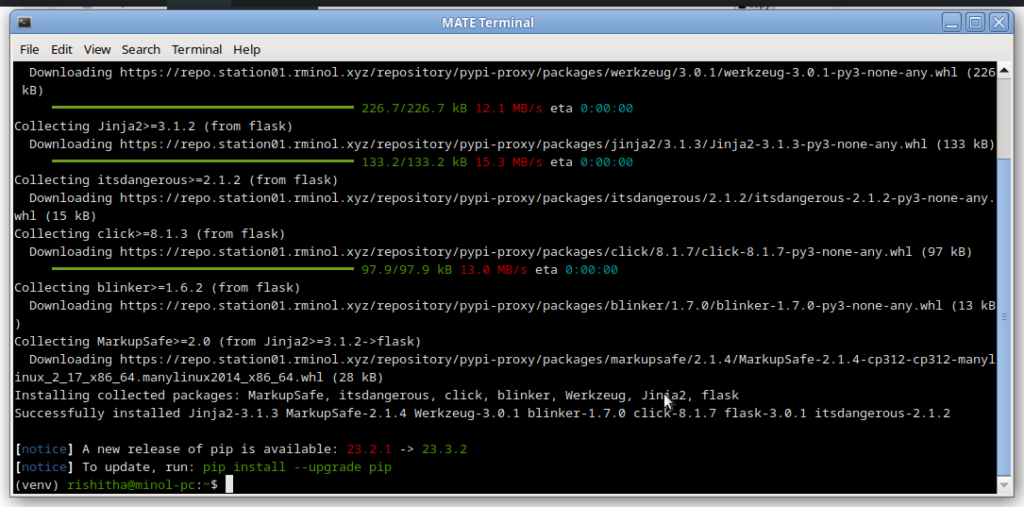
The repository creation was a success. But the proper way of doing this is grouping proxy and self hosted repositories.
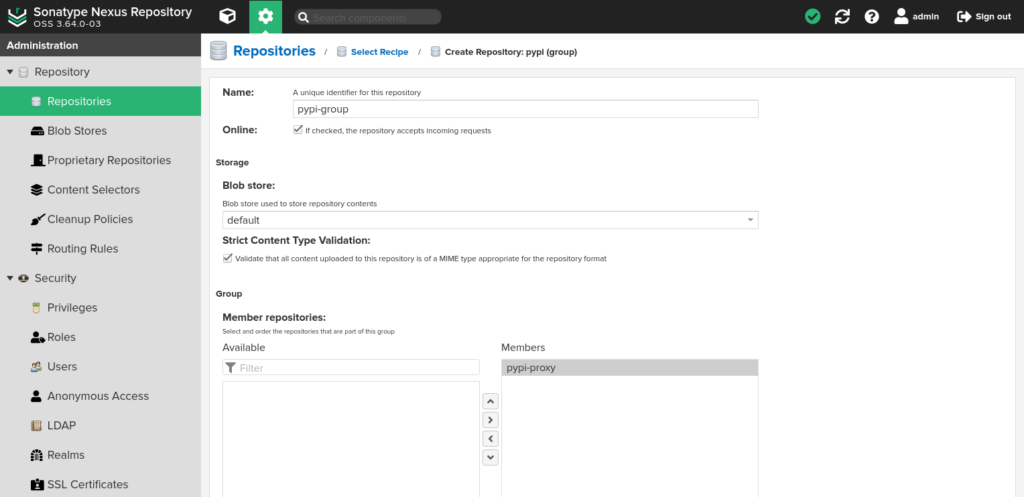
Go to Repository menu and click again Create Repository. Select pypi (group) repository type.

We name it pypi-group. Add pypi-proxy as member repository and click Create repository.
Again we do the previous test issued on pypi-proxy repository.

If everything goes well, you have successfully created a pypi repository to be used in Python package installations.