Over the past few years, I have had the opportunity to accumulate experiences, such as managing maintenance tasks for CI/CD pipelines that were not properly planned during their initial stages. These situations arise due to poor CI/CD architectures, the choice of tools that do not provide long-term support, and neglecting to plan for platform upgrades like OS and CI/CD tool upgrades. Another common mistake is failing to make the code independent from the syntax of the CI/CD tool vendor, which often results in embedding the execution logic within the vendor’s framework. These are some of the common mistakes we make on a daily basis.
So I came up with one kind of tactic where anyone can adapt in a future proof way. Combining Jenkins agent.jar with Docker. Listed below few advantages of it.
- Choosing to handle tasks in common languages like Python or Bash, rather than adopting a low-code/no-code approach (which offers less customization to meet our specific needs).
- It is pluggable at any time with any Jenkins controller (with nothing to worry about – the Jenkinsfile and pipeline scripts we develop will work anywhere).
- The environment remains unaffected during infrastructure upgrades, as the toolsets used to run the pipeline code are packed inside a Docker image. No additional infrastructure changes are necessary, only checking and verifying Docker image upgrades.
- Gain the advantage of running CI/CD jobs in parallel (we maintain one executor per agent, as we can achieve parallelism by adding more agents).
If multiple executors need to share the same content, anyone is free to increase the number of executors.
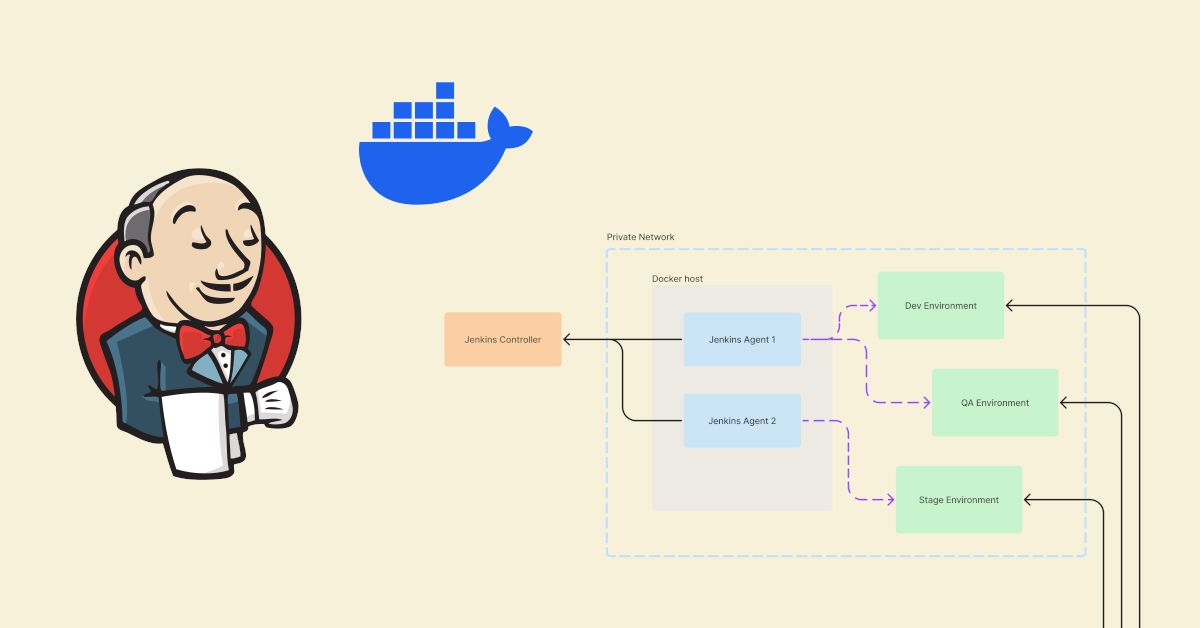
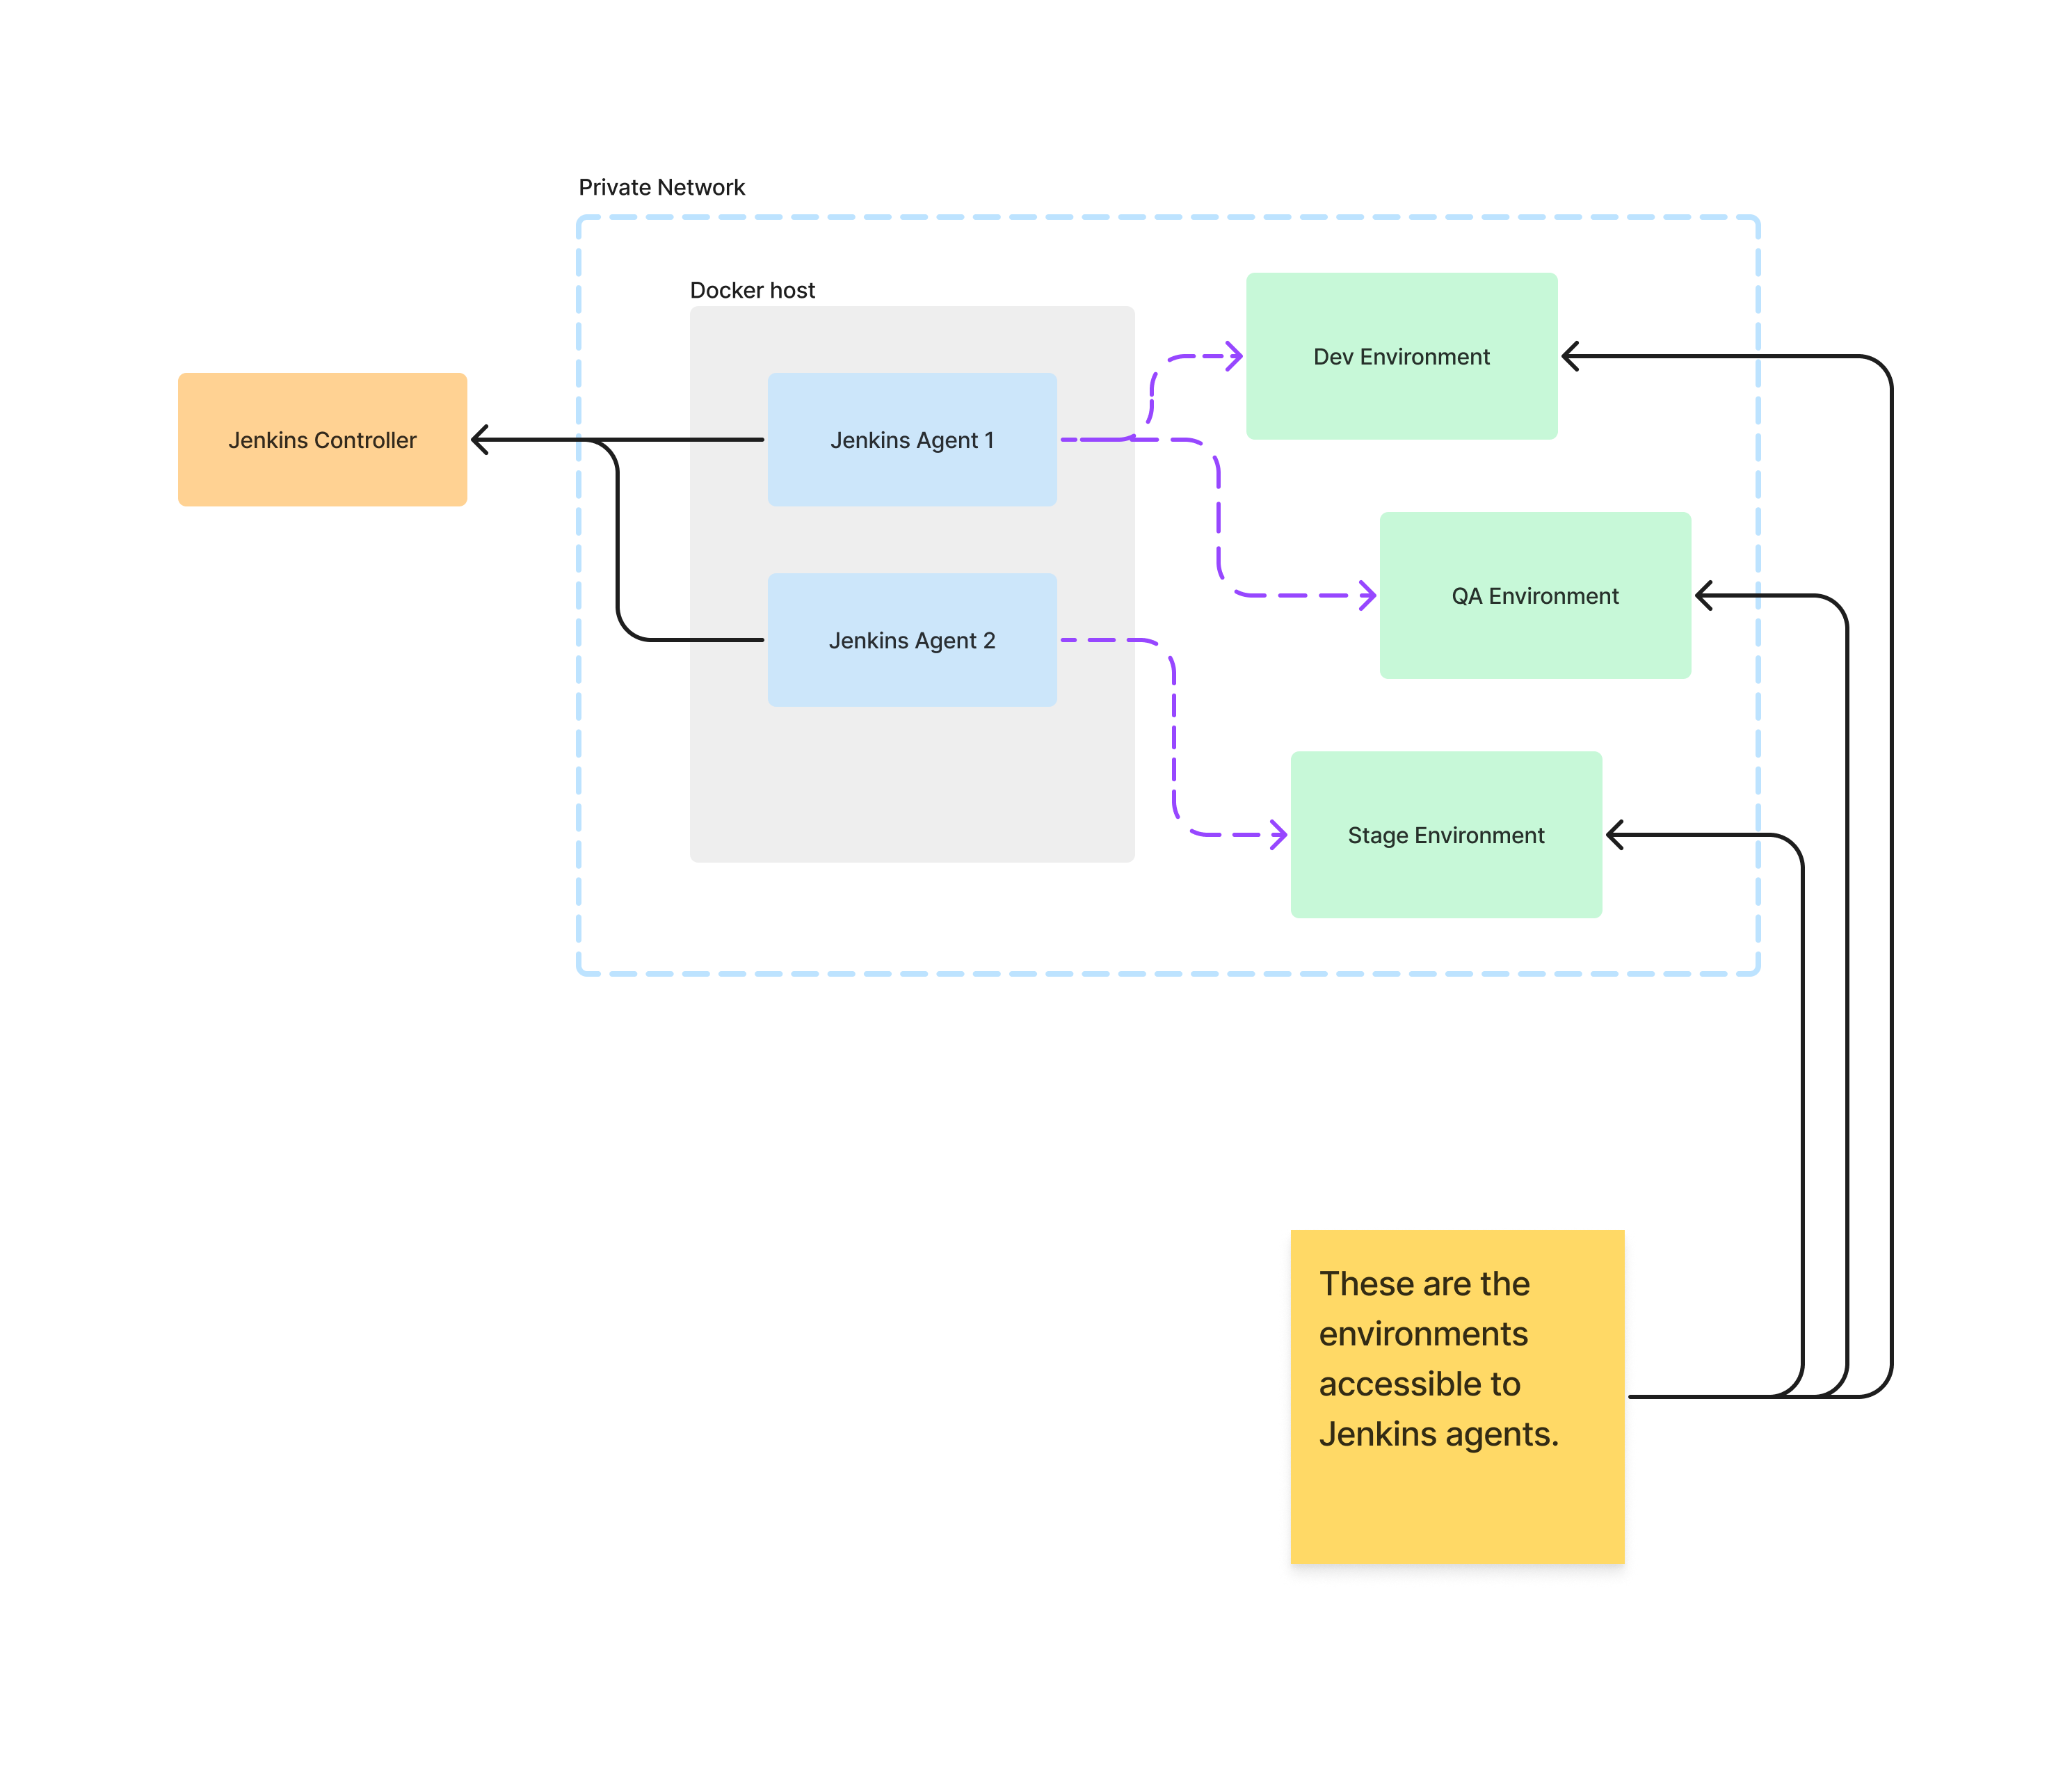
The architecture behind this
The init.sh script
This script is responsible for keep running the agent.jar coming from jenkins/agent original container. Options for agent.jaragent.jar can be found in official Jenkins documentations.
#!/usr/bin/env bash

java -jar /usr/share/jenkins/agent.jar \
     -jnlpUrl ${JENKINS_AGENT_JNLP_URL} \
     -secret ${JENKINS_AGENT_SECRET} \
     -workDir /home/jenkins/agent
The Dockerfile
FROM jenkins/agent:latest

ARG TZ=UTC

USER root
RUN ln -svf /usr/share/zoneinfo/$TZ /etc/localtime && \
    echo $TZ > /etc/timezone && \
    date

RUN usermod --shell /bin/bash jenkins

USER jenkins
SHELL ["/bin/bash", "-l", "-c"]
WORKDIR /home/jenkins

COPY init.sh /home/jenkins/

RUN mkdir -p ~/bin ~/.local/bin

# Install whatever customized tools which require your Jenkins pipeline.
Docker compose file
This way we will be able to keep the container up and running and survive restarts and gives us better manageability.
version: '3.8'
services:
  build-node-1:
    image: custom-image-made:latest
    container_name: build-node-1
    restart: always
    command: ["/home/jenkins/init.sh"]
    environment:
      JENKINS_AGENT_JNLP_URL: "Get this URL when you register agent"
      JENKINS_AGENT_SECRET: "No I do not give it to you"
    volumes:
      - /data/build-node-1:/home/jenkins/agent
      - /var/run/docker.sock:/var/run/docker.sock
      - /var/lib/docker/containers:/var/lib/docker/containers:ro
The steps to follow
Prepare the image using the Docker file given above with the additional customization.
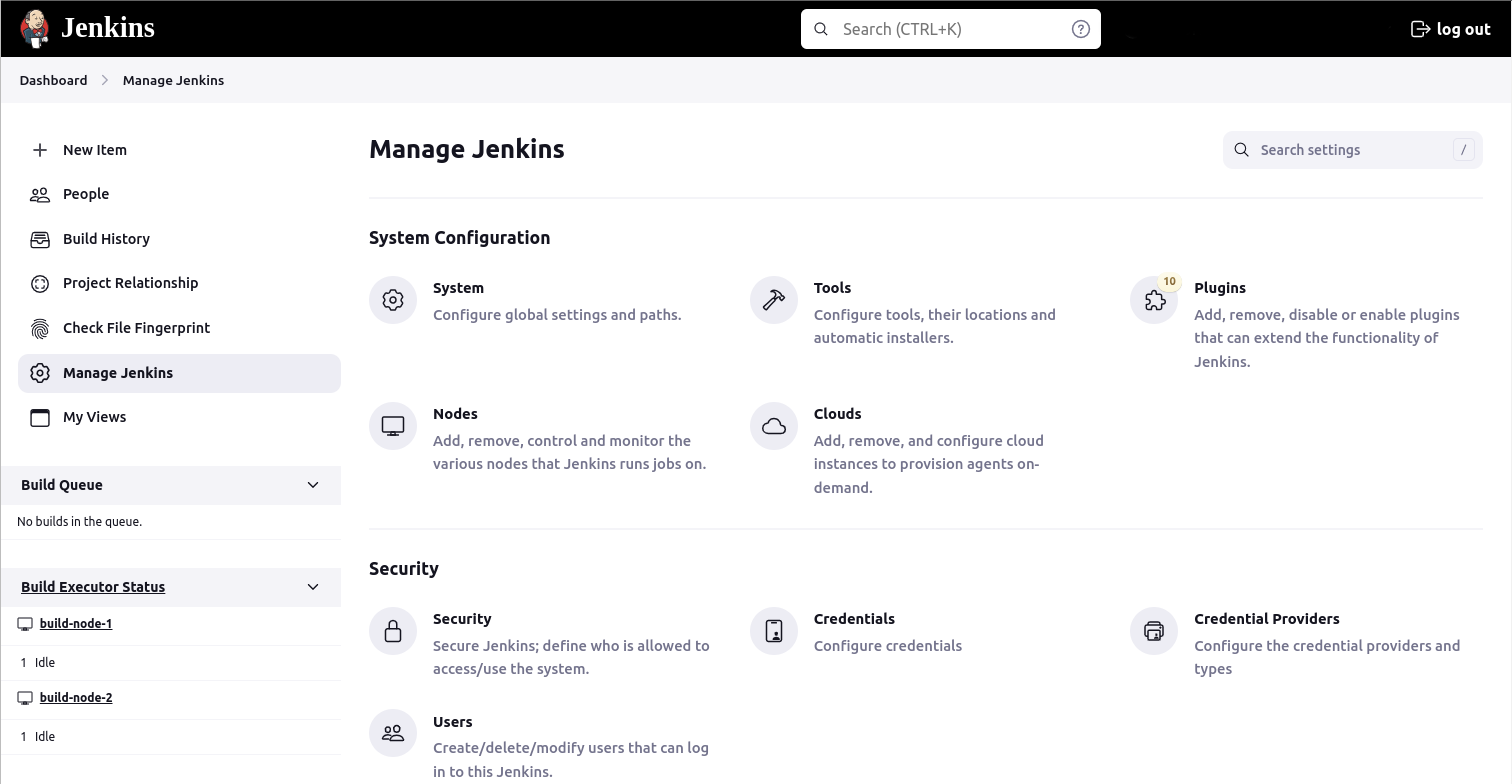
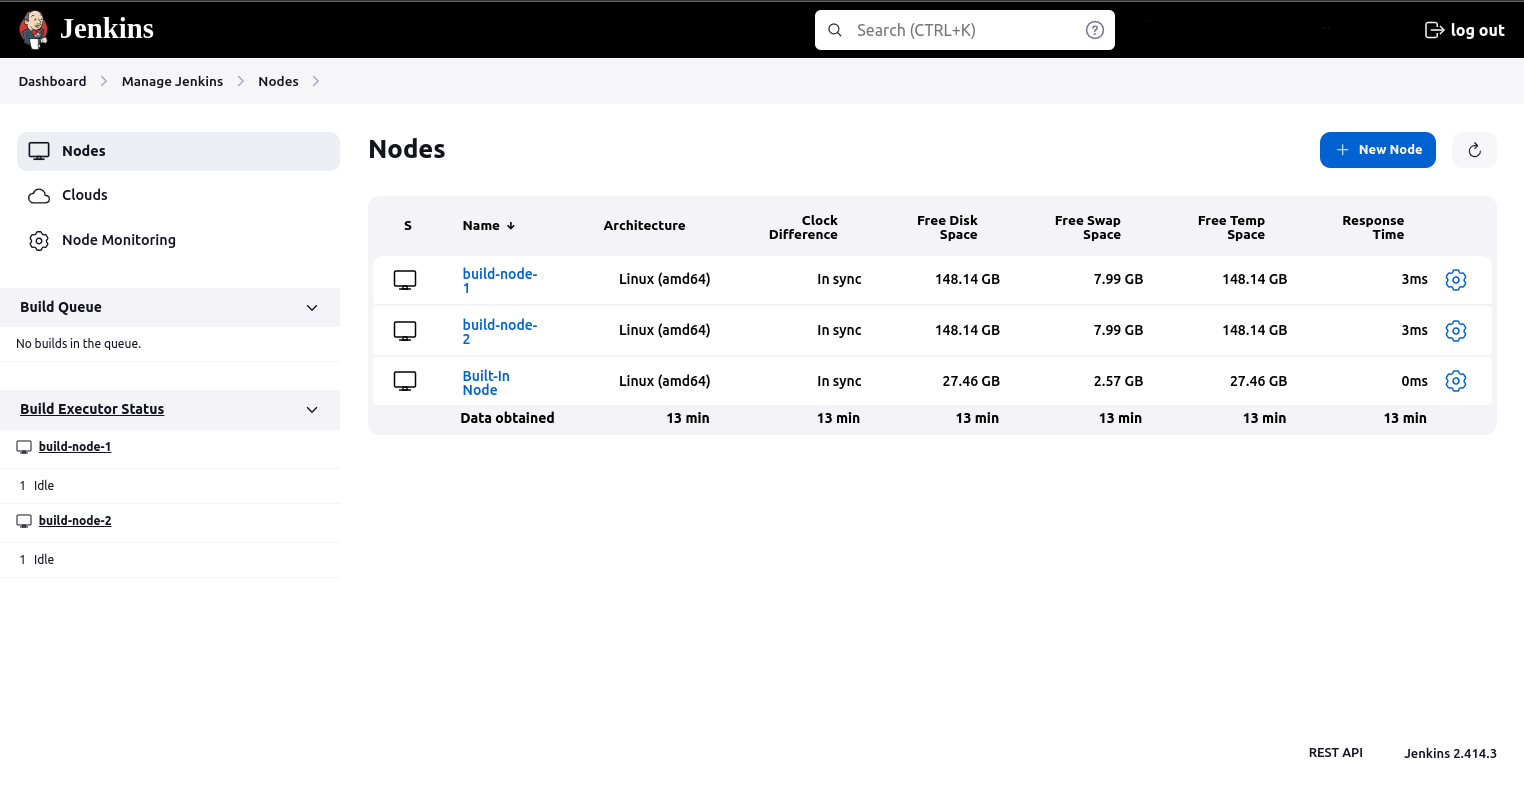
Go to Jenkins Settings and select Nodes and add the agent as mentioned in below screenshots.
Keep number of executors to 1 because we can use multiple agents to run parallel builds.

Each running container get it’s own storage area and mounted into /home/jenkins/agent. And no other agents can see each others data. Then running parallel jobs would be more safer than ever. So we fill the Remote Root Directory as below.

Make the label whatever you like. Currently I’m using the word linux 😊 and other few labels as well.

Select option Web Socket
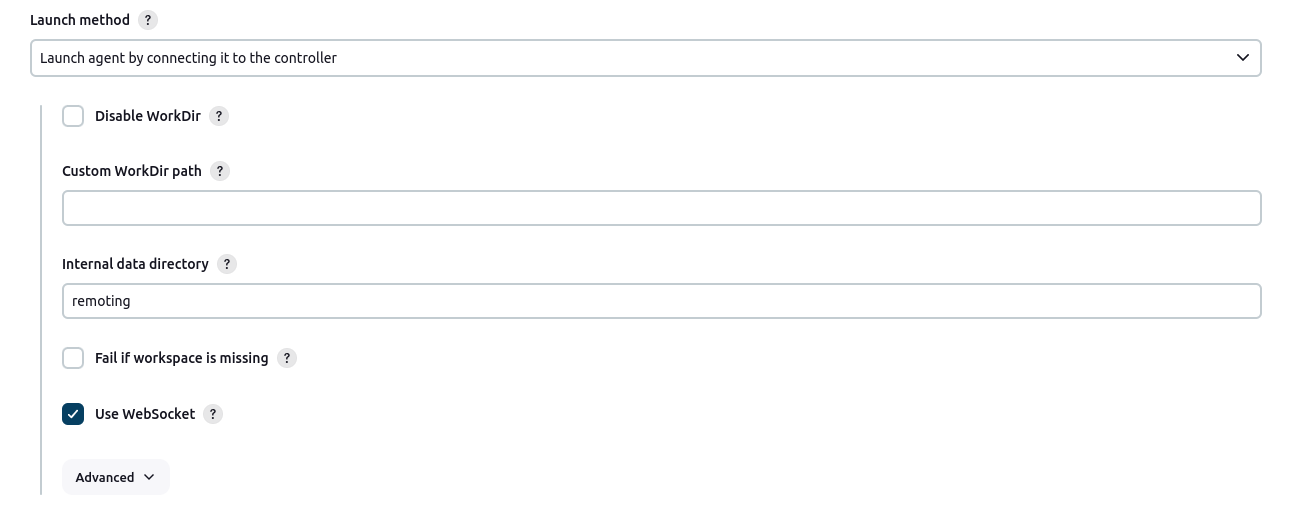
Finally Save. The node will be available in the list.
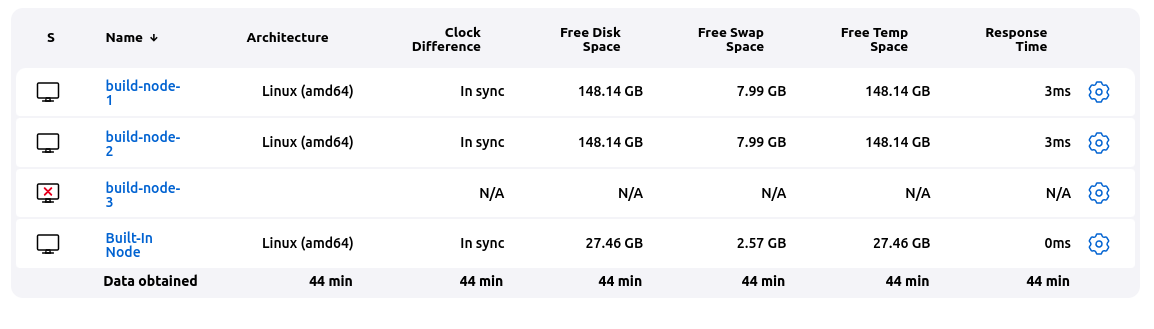
Click on it and Copy the JNLP_URL and Agent Secret.

Prepare docker-compose.yaml file with the JNLP url and agent secret.
version: '3.8'
services:
  build-node-1:
    image: the-image-made-from-dockerfile:latest
    container_name: build-node-1
    restart: always
    command: ["/home/jenkins/init.sh"]
    environment:
      JENKINS_AGENT_JNLP_URL: http://example.com:8080/computer/build%2Dnode%2D3/jenkins-agent.jnlp
      JENKINS_AGENT_SECRET: 74c4004b8cb0aff50bd0c89e2d0e47b42a4adfdd0008aeb14264f22816dc64b7
    volumes:
      - /data/build-node-1:/home/jenkins/agent
      - /var/run/docker.sock:/var/run/docker.sock
      - /var/lib/docker/containers:/var/lib/docker/containers:ro